My aim is to empower you and help make you and your art more visible, to create a consistent online presence and to ultimately sell your art – online and offline. This blog briefly outlines the main tasks involved in taking your art out into the public domain, with links to deeper reading about each topic. This blog is adapted from the first part of my lesson plan for a tailored art class I gave about everything you need to know in order to make money from your art. In this part I teach important things from the initial techniques of making art (I can provide all art materials), through to photo re-sizing and fine art packaging.
Read part 2 to learn more about online art sales and selling art. My recent art student, Maggie Field, was talented, intelligent, eager, had tons of the right questions and wanted to learn. So I thought I’d write up my lesson plan and share it with you.
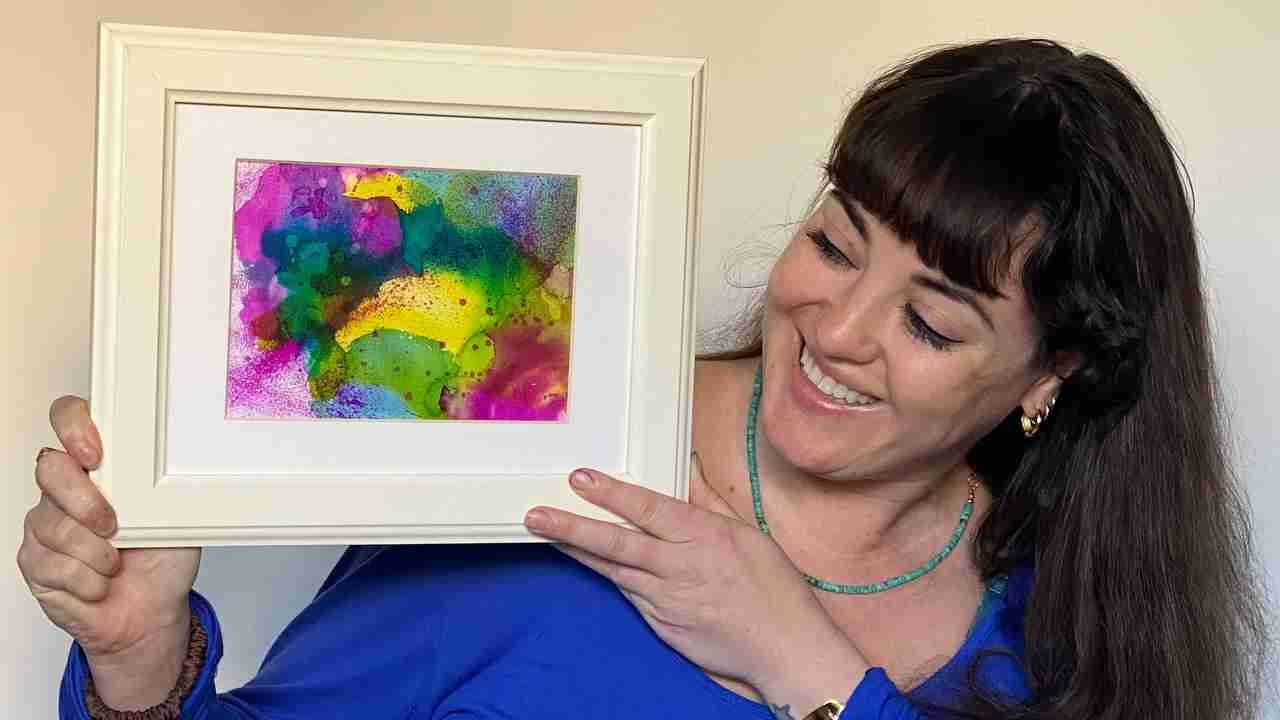
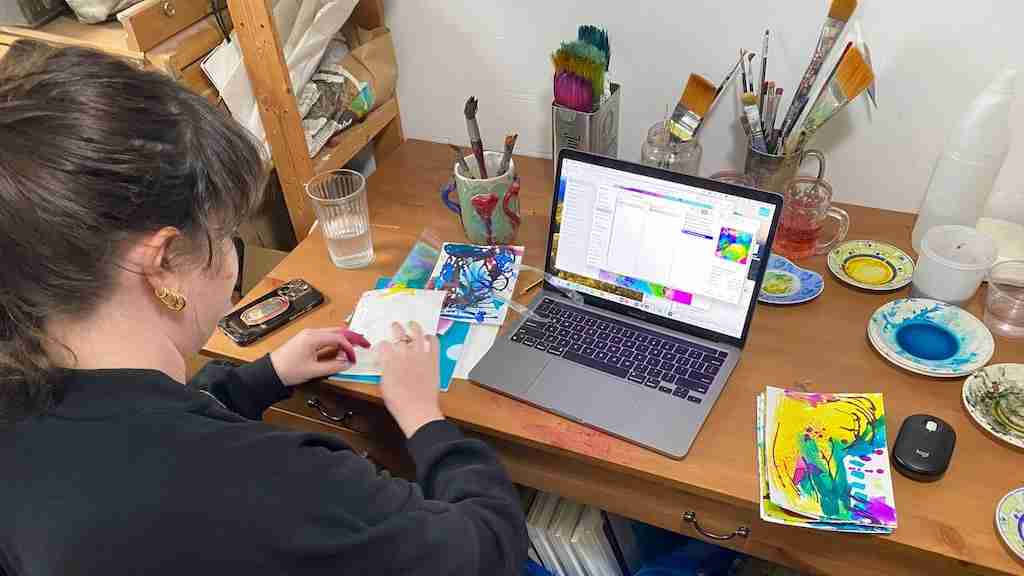
Emma Plunkett art teacher with a happy art student Maggie Field!
How to make art
Watercolour technique
Time: 2—3 hours.
Materials: A5 240—400g hot press watercolour paper, using Aquarella Liquido liquid watercolour inks. Brushes of various sizes, tissue, water pots, white saucers for palettes.
Method: Make a light water wash to wet the whole sheet of paper. Drip two colours on the paper and let them bleed together. Move the paper around to spread the ink. Let the watercolour inks do their thing, give them time and space to breathe and to dry thoroughly between each layer. Use a hairdryer or put them on a radiator to hasten the drying time. Work on several paintings at a time, creating several layers on each. Move to the next painting in rotation, building up the marks and colours, listening to what each painting needs — don’t overwork. Leave some negative spaces and use some neutral colours to set off the vivid hues. Build up the paintings by working fast and loose. Consider using a limited colour palette, varying the mark making as much as possible – washes, paint brush dabs, chisel tip brush marks, droplets, splashes, sprays and scribbles straight from the tube. I have one artist friend who uses her left hand and twigs to make marks. Be careful of making any contrived lines. Use water droplets and little pools of water to lift the pigments to the edges, this creates tide marks. Keep a different brush for each colour and when you clean brushes use washing up liquid and wash until the water runs clear. Keep the diluting water clean. Have plenty of tissue around for blotting up pools if they get too unruly. Use the corner of the tissue to soak up excess water, without touching the paper. Don’t scrub the paper with your brush or finger as it lifts the fibres and makes the paper rough.
Subject matter
Florals and flowers are the most popular search term that art collectors use on Saatchiart — if you want to be commercial, paint what people want. Learn how to doodle original content that reflects your soul. Abstracts can take more effort that you realise.
Painting classes
Come and have a painting class with me and just enjoy painting. I will support and guide you to make a painting of your very own that you can frame.
Photography
Photo tutorial
Excellent photos of your art is what will sell your art. Use the best quality camera you can lay your hands on. The better resolution the bigger prints you can make. Avoid shadows, busy backgrounds and burnt out highlights. Use indirect bright lighting. Line the painting up, exactly square with your camera viewer, fill the whole frame – make sure you place the camera lens dead centre of the piece. Zoom in to avoid wide angle. Watch this Saatchiart tutorial on how to photograph your art: https://youtu.be/Vpj28da03JQ
Mock ups
As well as full frame photos of your art, mock ups help buyers imagine your art in their home. A mock up can be done online or it can be something you set up, it gives them a sense of scale, which is hard to judge in a photo with nothing else in it. Take photographs of your artwork in a frame and put it in a situation with a glass or something else common for scale. Take a photo with you holding the framed piece, which is also for scale but also because people like to see the artist.
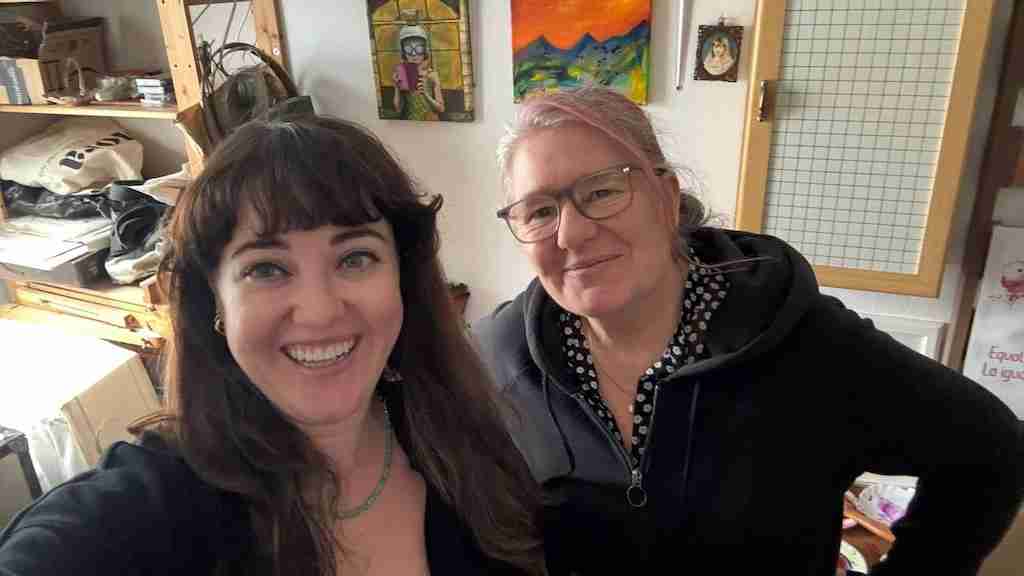
Student work!
Photo re-sizing
Use a photo app to crop images (pixlr.com is free to use with adverts).
- For print, export in 100% resolution at maximum quality – your files size should be in MB.
- For screens, export 1024 pixels, in high to medium quality – your file size should be in KB.
- Export a square cropped image for instagram in 1024 pixels resolution.
- Name each of your files by title_pixelsize_yourname.jpg
Photo adjusting light
In the first drop down options of your photo software (depending on what software you are using), adjust the exposure, making it brighter and adjust the shadows making it darker again. Further down in the white balance, adjust the warmth of the image to match the colours of your painting.
Art filing system
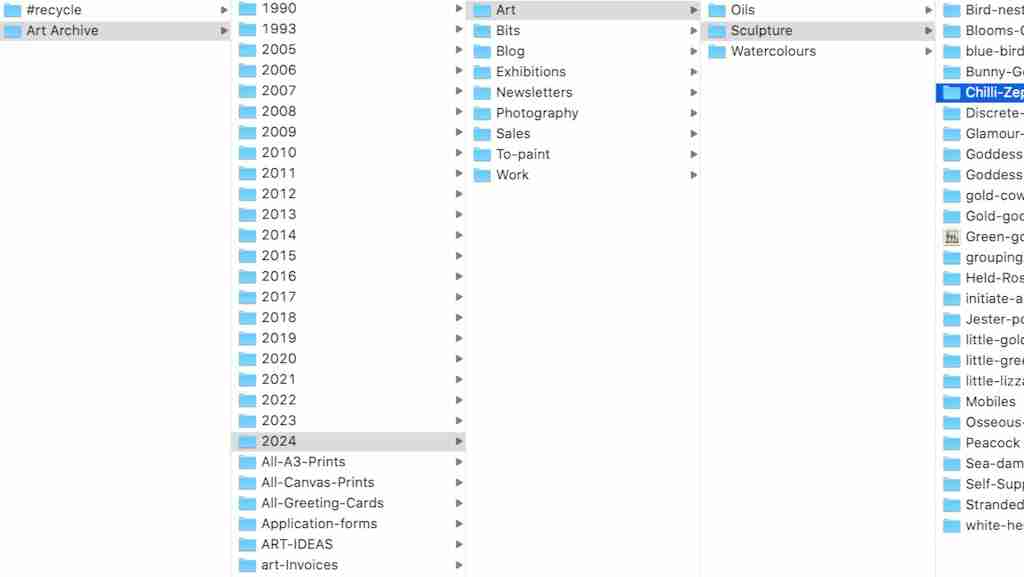
Artist filing system
How to organise your folders in a way that it is easy and fast to locate your artwork. This is a valuable piece of information that took me a while to work out. Name the first folder Art-Archive. Inside that name your folders by Year — 2020, 2021, 2022, 2023, 2024, 2025 etc. Inside each year, name your folders by project, eg, Art, Blog, Exhibitions, Newsletters. Inside your folder named Art put folder names by material or subject — Painting, Sculpture, Portraits.
Art Archive
Your folder titled with the name of one piece of art should contain one full resolution image for making prints, a screen sized image for sharing on social media and several mock ups. I also collect images when the art is displayed in different exhibition settings.
Written information
You will need to become familiar with writing in order to communicate about your artwork to help sell it, whether online or in galleries. The written word gives something for Google to use because it’s not very good at reading images. Give your audience more information and most importantly write an authentic personal story about how the piece came into being – a background story helps people to connect with you and your visual art.
Artists statement
Having your art statement ready is crucial for entering exhibitions and art competitions. This is to tell people a little about yourself – where you were born and educated, where you live now, your interests or even passions that influence your content and the materials you use. Tips for writing your artists statement. Start with 10 – 15 minutes of free writing and see what stands out. Ask yourself things like: Who am I? What do I make? Why do I make art? How do I make my art? What does my art signify or represent to me? What is unique about how I make art? Think about your influences, intentions, themes, processes, genres and materials. Be concise, aim for 150 – 200 words. Your artists statement will evolve over time. Keep the older copies.
Art descriptions
Choose a piece of artwork and write by hand whatever comes into your mind, it’s called free writing or streams of consciousness, keep referring back to the piece. Talk about what you want people to feel, what it means to you, why you made it. Be honest and personal, use an online note pad like Joplin and type up your description. 100 – 200 words.
Art details
Every time you post a piece of your art online, include the following details:
- Images: screen sized of each photo (unframed, framed, with you and in situ)
- Description: 100 words or so
- Title:
- Materials:
- Size: width x height cm / inches
- Date:
- Price:
- Shipping: world wide, this A5 painting comes in a tracked rigid envelope.
- Hashtags: 3 carefully selected well researched quality hash tags.
- Link: http://www.buymy.art (where to buy your artwork) or write something like, DM me if you would like to buy this painting
Fine art packaging
Cellophane bags
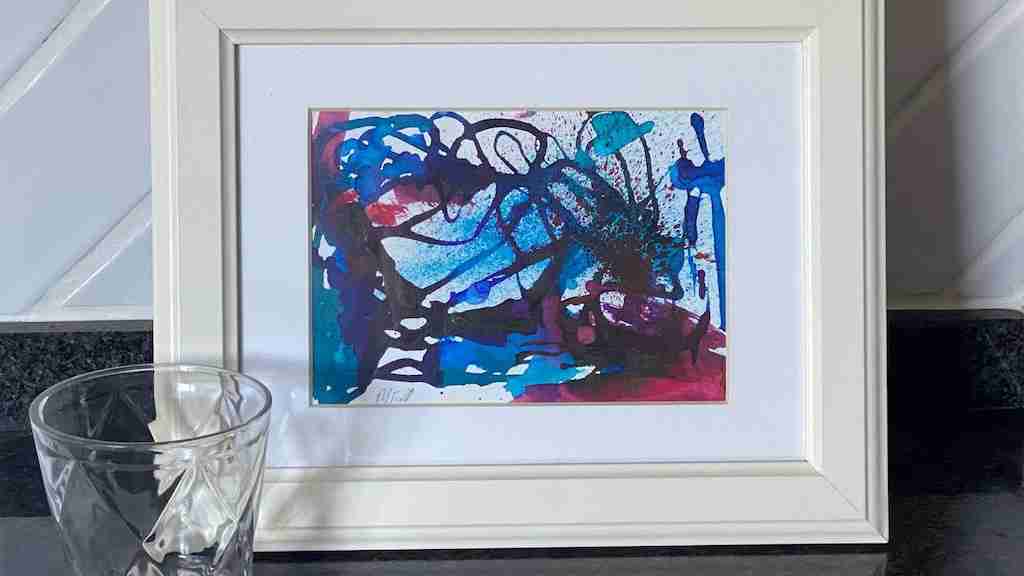
Student working!
Sign your paintings in pencil after practicing your signature to make it look confident. Place the painting in protective cellophane sleeve. These can be purchased online.
Rigid envelopes and tubes
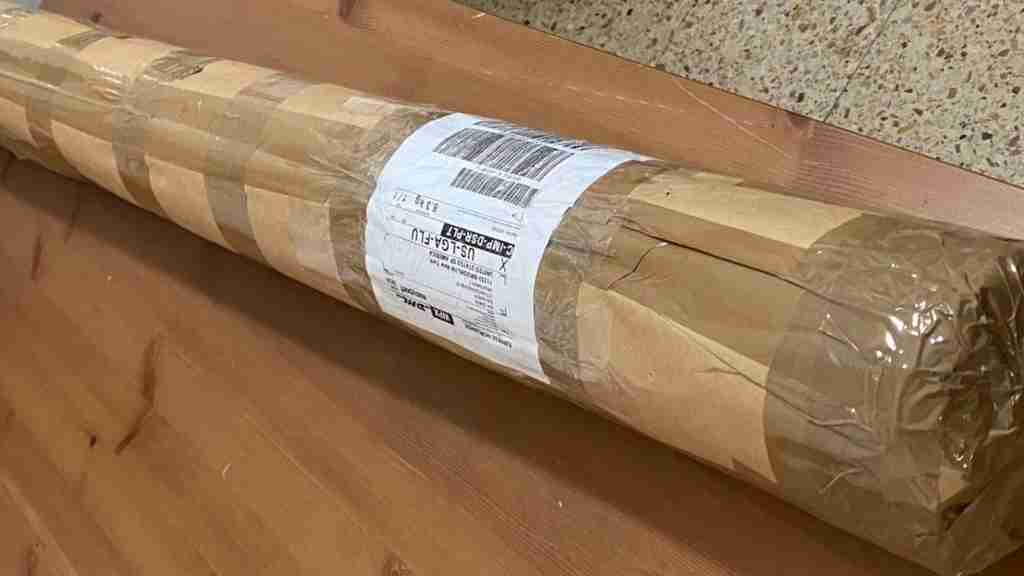
Extra large shipping tube!
For posting artwork use hard back envelopes for A5 watercolours, tubes for A3 paintings, prints and canvas (off the stretcher).
Making a custom shipping parcel
For posting stretched canvases, you will need layers of packing materials — grease proof paper over face of the painting, bubble wrap, a cardboard sheet front and back, reinforced cardboard corners, more bubble wrap, custom made cardboard box, tons of brown parcel tape. The corners get the most bashes during transport, so tape around them well. Read more about the process and see photos in this blog post: https://emmaplunkett.art/art-blog/fine-art-packing/
Art lesson – making and selling (part 2)
Read part 2 of this lesson plan and learn about making your online presence and sales.
Feedback
There’s a lot more depth to this subject of making a business out of your art and this blog is written to help get you started. If you have found it helpful, please leave a comment and recommend my artwork, newsletter and blog to your friends. I’m also open if you would like to book a video consultation or an art class with me and we can go through the whole process together. Lessons are tailored to your needs.
Leave A Comment